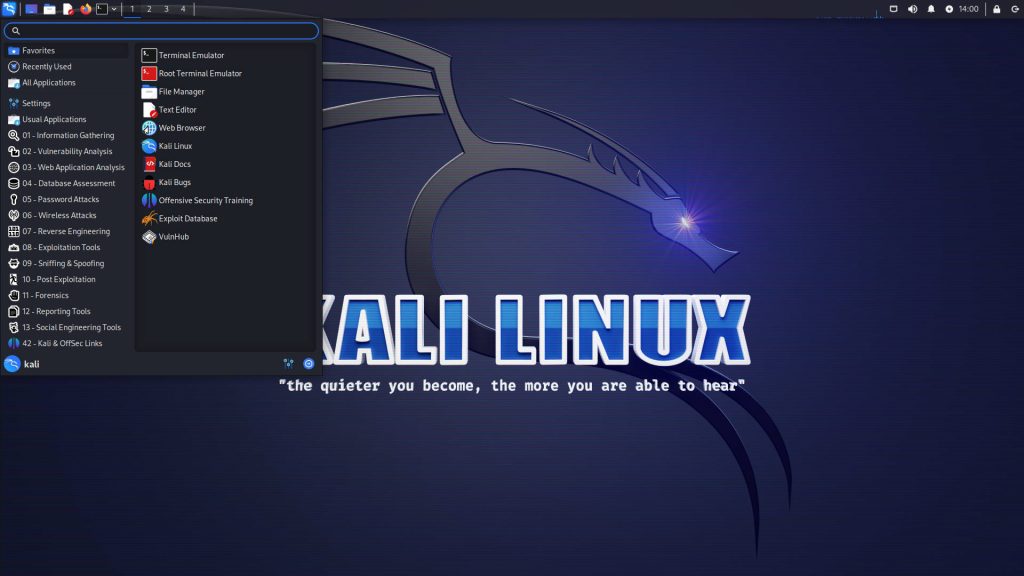
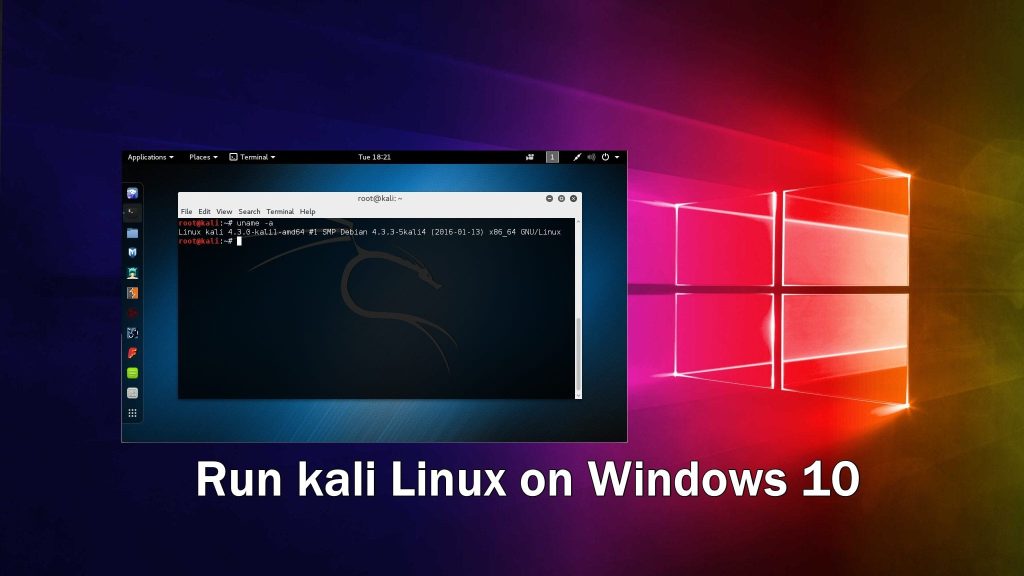
Run Kali Linux natively on your Windows 10
Have you ever wanted to explore the powerful capabilities of Kali Linux but hesitated due to the hassle of setting up a dual-boot or virtual machine? Well, here’s some good news for Windows 10 users: you can now run Kali Linux natively on your Windows 10 operating system. This article will guide you through the process of setting up Kali Linux on your Windows 10 machine and unleashing its full potential without the need for complex configurations.
Introduction: What is Kali Linux?
Kali Linux is a widely-used and powerful Linux distribution specifically designed for penetration testing, ethical hacking, and network security assessments. It comes pre-installed with a vast array of tools and applications that make it an indispensable platform for cybersecurity professionals, hackers, and enthusiasts alike. With its robust security features and extensive toolset, Kali Linux has become a go-to operating system for various security-related tasks.
Benefits of Running Kali Linux on Windows 10
Running Kali Linux natively on your Windows 10 system offers several advantages, including:
- Convenience: Instead of dual-booting or setting up a virtual machine, you can seamlessly integrate Kali Linux within your Windows 10 environment. This eliminates the need to reboot or switch between operating systems, providing a more streamlined experience.
- Resource Efficiency: By leveraging the Windows Subsystem for Linux (WSL), Kali Linux can run efficiently on your Windows 10 machine without consuming excessive system resources. This allows you to utilize the power of Kali Linux while still benefiting from the familiarity and functionality of Windows 10.
- Compatibility: Running Kali Linux on Windows 10 ensures compatibility with Windows-based software and applications, enabling you to combine the strengths of both operating systems in a single environment. This is particularly useful when conducting security assessments that involve Windows-specific targets.
Prerequisites for Running Kali Linux on Windows 10
Before proceeding with the installation, ensure that you meet the following prerequisites:
- A Windows 10 computer with a 64-bit processor and at least 4 GB of RAM (8 GB or more is recommended).
- Sufficient disk space (at least 20 GB) to accommodate the Kali Linux installation.
- A stable internet connection to download the necessary files during the setup process.
Step-by-Step Guide to Run Kali Linux on Windows 10
Step 1: Prepare a bootable Kali Linux USB drive
- Download the Kali Linux ISO image from the official website (https://www.kali.org/downloads/).
- Insert a USB drive (at least 8GB in size) into your computer.
- Use a tool like Rufus (https://rufus.ie/) to create a bootable USB drive with the Kali Linux ISO image.
Step 2: Create a new partition for Kali Linux
- Press the Windows key, type “disk management,” and open the “Create and format hard disk partitions” option.
- Right-click on the primary partition where Windows is installed and select “Shrink Volume.”
- Enter the amount of space you want to allocate for Kali Linux (e.g., 20-30 GB), and click “Shrink” to create a new unallocated partition.
Step 3: Disable Secure Boot (if applicable)
- Restart your computer and enter the BIOS/UEFI settings. This process varies depending on your computer manufacturer.
- Locate the Secure Boot option and disable it. Save the changes and exit the BIOS/UEFI settings.

Step 4: Install Kali Linux
- Insert the bootable Kali Linux USB drive into your computer.
- Restart your computer and boot from the USB drive. You may need to change the boot order in the BIOS/UEFI settings.
- When the Kali Linux installer starts, choose the “Graphical Install” option.
- Follow the on-screen prompts to select your language, location, keyboard layout, and other preferences.
- When prompted to partition the disk, select the “Manual” option.
- Select the unallocated partition you created earlier, and choose the “Create a new partition” option.
- Create a root partition (mount point “/”) and, if desired, a swap partition (optional but recommended).
- Proceed with the installation, following the prompts to set up a username, password, and other system settings.
Step 5: Configure the bootloader
- During the installation, you’ll be prompted to install the GRUB bootloader. Choose the option to install it on the same hard drive where Kali Linux is installed.
- If prompted, select the partition where the bootloader will be installed (e.g., /dev/sda).
- Complete the installation process and restart your computer.
Step 6: Choose the operating system at startup
- After rebooting, you’ll see the GRUB bootloader screen.
- Use the arrow keys to select the operating system you want to boot into (Windows or Kali Linux).
- Press Enter to boot into the selected operating system.
Congratulations! You have successfully set up a dual boot configuration with Windows 10 and Kali Linux. Now you can choose which operating system to use each time you start your computer.
Please note that dual booting involves modifying your system’s partitions, which carries a risk of data loss if not done correctly. It’s essential to back up your important files and follow the steps carefully.
Step 7: Updating and configuring Kali Linux
- Once you have booted into Kali Linux, log in using the username and password you set during the installation.
- Open a terminal window by clicking on the terminal icon in the taskbar or by pressing Ctrl+Alt+T.
- Update the package repositories by running the following command:
sql
sudo apt update
- Upgrade the installed packages to their latest versions:
sudo apt upgrade
- Depending on your needs, you may want to install additional software or tools. You can use the following command to search for specific packages:
php
apt search <package_name>
- To install a package, use the command:
php
sudo apt install <package_name>
- After installing any additional packages, you can proceed with configuring Kali Linux to your preferences, such as setting up networking, installing drivers, or customizing the desktop environment.
Step 8: Switching between Windows and Kali Linux
- Whenever you want to switch between Windows and Kali Linux, restart your computer.
- During the boot process, you will see the GRUB bootloader screen.
- Use the arrow keys to select the operating system you want to boot into (Windows or Kali Linux).
- Press Enter to boot into the selected operating system.
Remember to save any work and close all open applications before switching between operating systems to avoid data loss.
It’s worth mentioning that running Kali Linux natively on Windows 10 through dual booting requires a certain level of technical knowledge and carries the risk of data loss if not done correctly. If you’re not comfortable with these steps, you might consider using a virtual machine to run Kali Linux instead.
Step 9: Keeping Kali Linux and Windows updated
- It’s important to regularly update both Kali Linux and Windows to ensure you have the latest security patches and software updates.
- In Kali Linux, you can use the following commands to update the system:
sql
sudo apt update

sudo apt upgrade
- For Windows, make sure to enable Windows Update and allow it to download and install updates automatically. You can do this by going to Settings > Update & Security > Windows Update.
- It’s recommended to periodically check for updates for both operating systems and apply them to keep your system secure and up to date.

Step 10: Troubleshooting and support
- If you encounter any issues or need assistance with Kali Linux or Windows, there are various resources available for troubleshooting and support.
- For Kali Linux, you can refer to the official documentation, forums, and community resources available on the Kali Linux website (https://www.kali.org).
- For Windows, you can access Microsoft’s support website (https://support.microsoft.com) for troubleshooting guides, knowledge base articles, and community forums.
Remember to exercise caution when performing system modifications or installing new software, as they can affect the stability and security of your system. Always research and verify the source of any software or commands before executing them.
Step 13: Enhancing Kali Linux functionality (optional)
- After setting up Kali Linux, you may want to enhance its functionality by installing additional tools or customizing the environment.
- Kali Linux provides a vast repository of pre-installed tools, but you can also install additional tools based on your specific needs.
- To install tools, you can use the following command:
php
sudo apt install <package_name>
- You can explore the Kali Linux documentation and community resources to discover popular tools and their installation instructions.
- Additionally, you can customize the desktop environment, themes, icons, and other visual aspects of Kali Linux to suit your preferences.
- To change the desktop environment, you can install alternative desktop environments like GNOME, KDE, or Xfce.
- You can customize themes and icons by exploring the available options in the system settings or by installing additional themes and icon packs.
- There are various online resources and forums where you can find customizations and tweaks specific to Kali Linux.
Step 14: Learning Kali Linux and ethical hacking
- Kali Linux is a powerful tool primarily designed for ethical hacking and penetration testing.
- If you are new to Kali Linux and ethical hacking, it’s important to invest time in learning and understanding the tools and methodologies involved.
- The Kali Linux website offers extensive documentation, tutorials, and video courses to help you get started.
- You can also explore other online resources, books, and forums dedicated to ethical hacking and cybersecurity to enhance your knowledge and skills.
- Remember to always use Kali Linux responsibly and legally, adhering to ethical guidelines and applicable laws.
Exploring Kali Linux on Windows 10
Now that you have successfully set up Kali Linux on your Windows 10 machine, let’s explore some of its key features and capabilities:
Kali Linux Tools and Applications
Kali Linux comes equipped with a vast array of tools and applications for various security testing purposes. These include network scanning and mapping tools, vulnerability assessment frameworks, password cracking utilities, wireless testing suites, and much more. The extensive toolset empowers security professionals to perform comprehensive assessments and strengthen the security posture of their systems.
Network Penetration Testing
One of the primary use cases for Kali Linux is network penetration testing. With tools like Nmap, Metasploit, and Wireshark, you can identify network vulnerabilities, exploit weaknesses, and assess the overall security of your network infrastructure. Kali Linux provides a robust platform for performing ethical hacking activities and safeguarding your network against potential threats.
Web Application Testing
Kali Linux offers a range of tools specifically designed for web application testing and security assessment. Tools like Burp Suite, OWASP ZAP, and Nikto help identify common web application vulnerabilities, such as SQL injections, cross-site scripting (XSS), and insecure direct object references. By leveraging these tools, you can evaluate the security of web applications and mitigate potential risks.
Wireless Security Testing
Kali Linux includes powerful tools for wireless security testing and auditing. With utilities like Aircrack-ng and Reaver, you can assess the security of wireless networks, crack WEP and WPA/WPA2 encryption, and identify vulnerabilities in Wi-Fi implementations. These tools are invaluable for organizations looking to secure their wireless infrastructure and prevent unauthorized access.
Forensics and Security Auditing
Kali Linux also offers a range of tools for digital forensics and security auditing. Tools like Sleuth Kit and Autopsy enable investigators to analyze digital evidence, recover deleted files, and investigate security incidents. By leveraging Kali Linux for forensics and auditing purposes, you can gain valuable insights into potential security breaches and mitigate future risks.

Tips for Optimizing Kali Linux Performance on Windows 10
To ensure optimal performance while running Kali Linux on your Windows 10 system, consider the following tips:
- Allocate sufficient system resources (CPU, RAM, and disk space) to the WSL instance running Kali Linux.
- Regularly update both Windows 10 and Kali Linux to benefit from the latest security patches and bug fixes.
- Disable unnecessary services and background processes in Windows 10 to free up system resources for Kali Linux.
- Optimize your network settings to ensure smooth communication between Windows 10 and Kali Linux.
Conclusion
Running Kali Linux natively on your Windows 10 machine provides a convenient and efficient way to harness the power of this popular security-focused operating system. By following the step-by-step guide outlined in this article, you can seamlessly integrate Kali Linux within your Windows 10 environment and leverage its extensive toolset for various security testing purposes. Whether you are an aspiring ethical hacker or a cybersecurity professional, exploring Kali Linux on Windows 10 opens up new possibilities for enhancing your security skills and protecting your systems.
Frequently Asked Questions (FAQs)
Q1: Can I run Kali Linux on Windows 10 Home edition? Yes, you can run Kali Linux on Windows 10 Home Edition by enabling the Windows Subsystem for Linux (WSL) feature.
Q2: Will running Kali Linux on Windows 10 affect my Windows files and applications? No, running Kali Linux on Windows 10 using the WSL feature operates in an isolated environment and does not interfere with your Windows files or applications.
Q3: Can I access the Kali Linux terminal from the Windows command prompt? Yes, you can access the Kali Linux terminal by launching the Windows Subsystem for Linux (WSL) from the Windows command prompt.
Q4: Are all Kali Linux tools and applications available in the Windows version? Yes, most of the essential Kali Linux tools and applications are available in the Windows version. However, some tools that require specific hardware or kernel access may not function fully.
Q5: Can I install additional tools and packages in Kali Linux on Windows 10? Yes, you can install additional tools and packages in Kali Linux on Windows 10 using the APT package manager, just like in a regular Kali Linux installation.
You can also buy instant:


Cashapp Money Transfer Click here
Paypal Money Transfer Click here
Western Union Money Transfer Click here
Venmo Money Transfer Click here
Bank Money Transfer Click here to Contact Us

